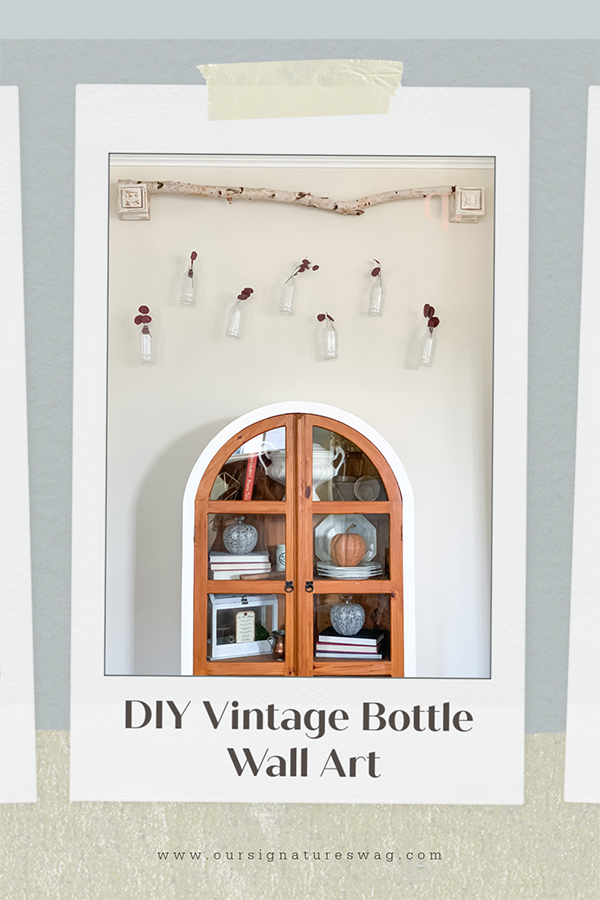
DIY Vintage Bottle Wall Art
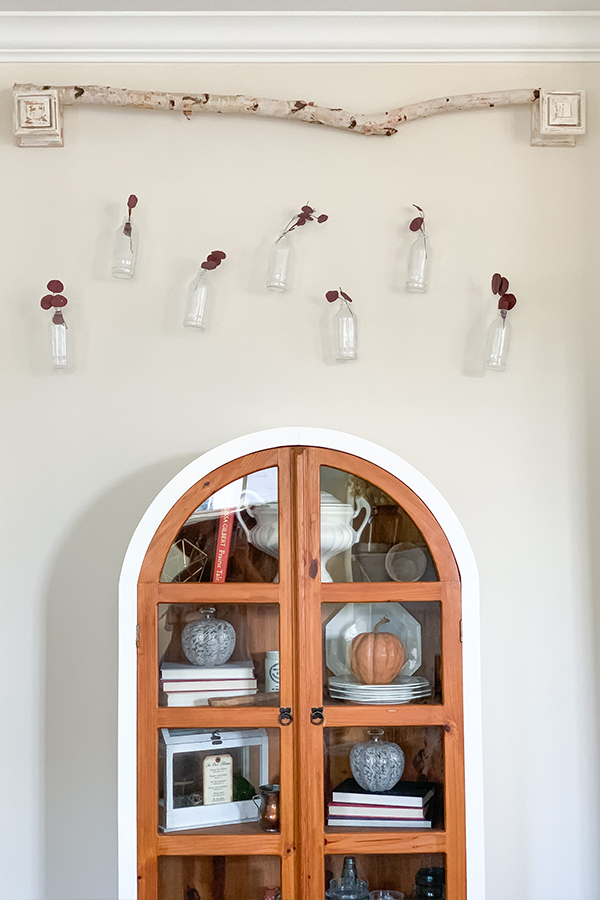
Wait until you see this friends! I want to share a super fun and easy project with you that I did last week. The dilemma… I had a lot of space between the top of my arched hutch and the ceiling. I looked for an architectural piece for awhile and couldn’t find anything that spoke to me, or if it did it was WAY TOO EXPENSIVE! So, time to solve the problem myself. I decided to do a DIY vintage bottle wall art. Crazy?? I think not! I love how it turned out.
Let me walk you through each step and maybe you can create one of these beauties yourself.
Supplies list: Birch branch, fishing line, vintage bottles, scissors, corbels or some type of sconce to hold the branch up, nails and hammer.
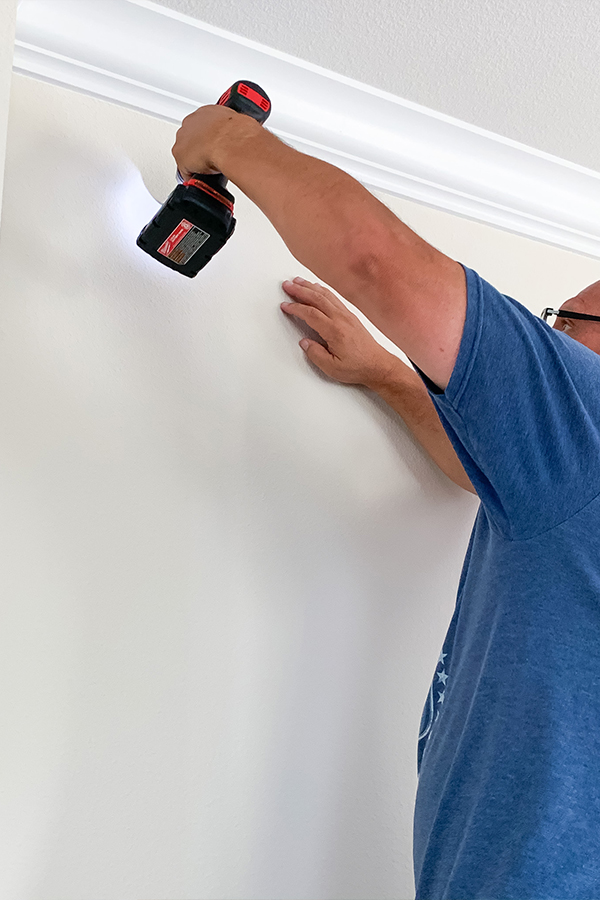
Here is the area where I was wanting to add a little wall hanging. I first measured the wall and then divided that number in half to get the center of the wall.

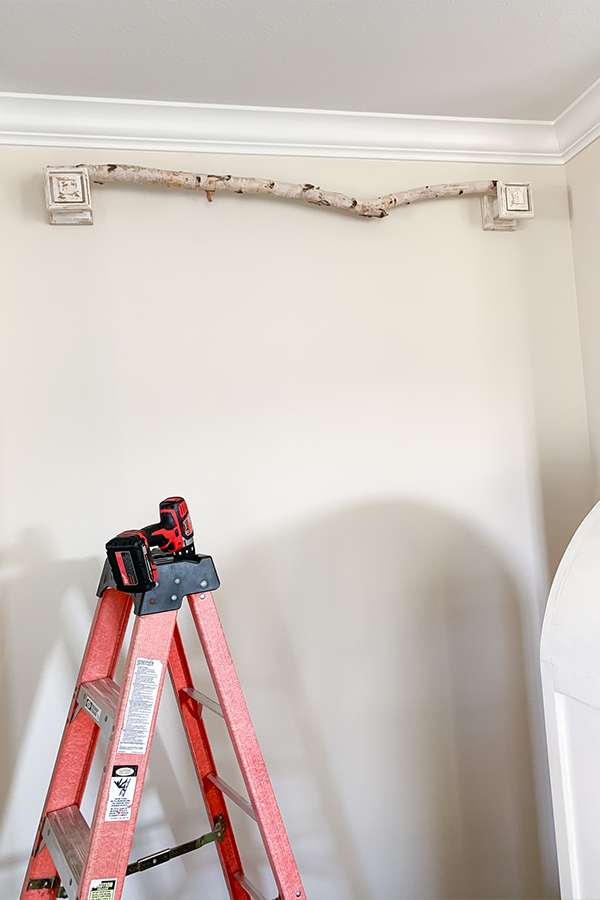
Once we found the center, we were able to measure where we wanted to install the sconces. This is where my hubby comes in. He’s way better with power tools than I am ! LOL
Viola! The sconces are up! That was super easy!
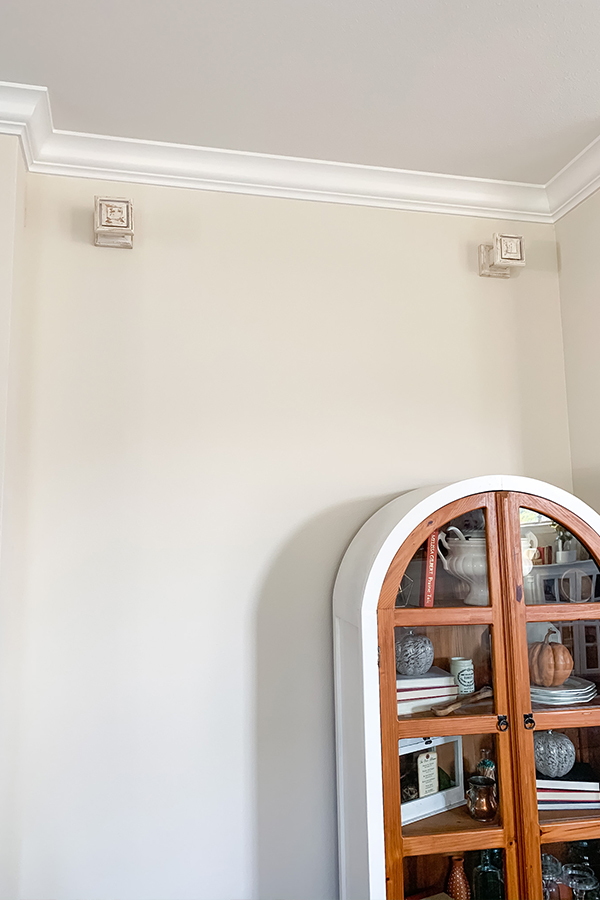
Here is the birch log on top of the sconces.
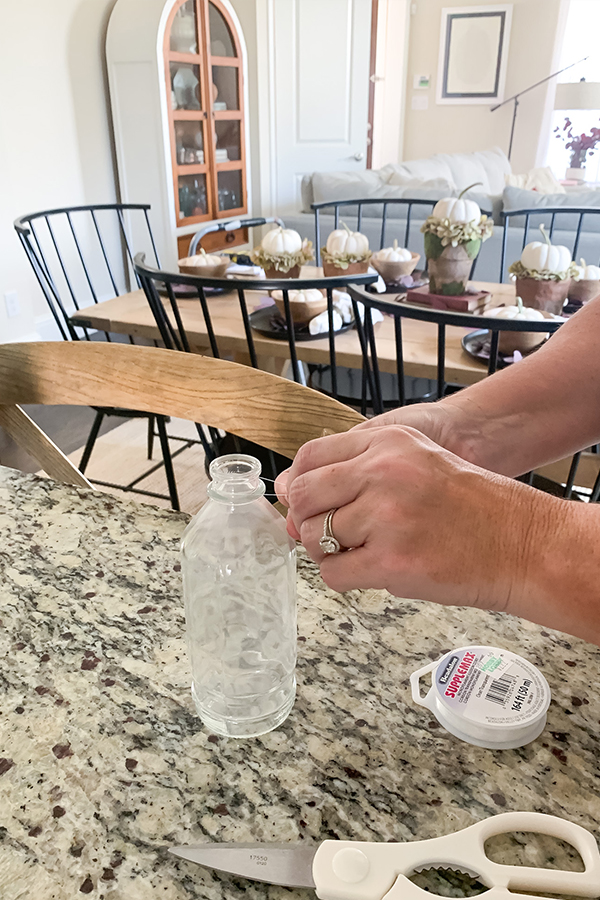
Once the branch was up, it was time to assemble the bottles. I used this translucent cord from Hobby Lobby. I tied it around the top of the bottles and then attached them to the log. I added eucalyptus for a nice Fall touch.
So, what do you think? Isn’t it fun? I love how the DIY vintage bottle wall art turned out. I’m excited to change it out with the seasons. I am thinking of adding twinkle lights and snow for the winter. Wouldn’t that be cheery and festive?
Be sure and check out some of my other DIY projects here. There are some really good ones. Have a blessed day friends!