How to Install Cabinet Hardware
Well, we did a thing. We got our hardware up on our new cabinets and we are so overjoyed. SO, I thought I would do a how to install cabinet hardware tutorial for you. First, let me say, Brandon and I are newbies at the partner DIY projects thing. All I will say is that I hope your next project goes little smoother. LOL No seriously, it wasn’t that bad.
Before I begin, I will tell you that I am giving you tips on what I did and did NOT do to make it easier for YOU. Aren’t you glad I get to be your guinea pig sort of speak?
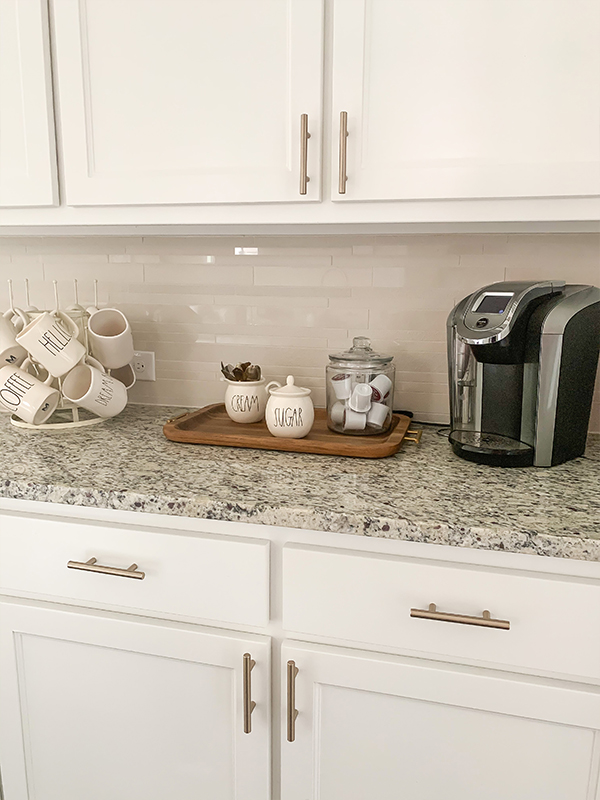
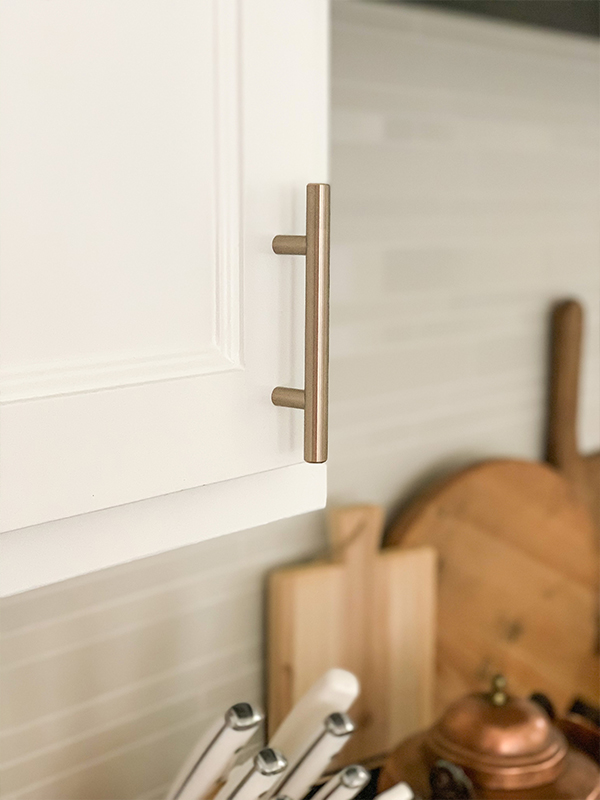
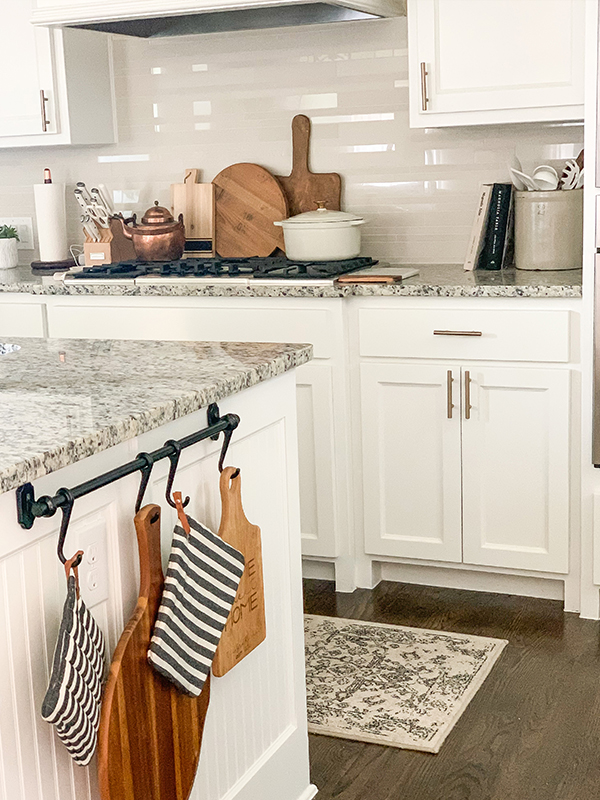
I wanted to share the pulls that we ended up going with. HERE’S a pro tip for you, look around because these pulls were $6 each at Home Depot and at Wayfair they were $23 for 10!!! I know, right? Crazy town! Here is the link to our champagne bronze cabinet pulls. We wanted a color that would blend in well with our new Pottery Barn Pendant Lights. We had narrowed it down to Black, Silver and this Champagne Bronze and I am so glad we went with this color.
- Choose an inconspicuous cabinet to do your first piece of hardware on. That way, if you mess up a little, it won’t be noticeable. Now, we did NOT do that so our first one was the first cabinet you see when you walk into our kitchen. ARGH! And of course, it is not perfectly straight. SIGH!
- Use a marking tool such as the Align Right that we used from Home Depot. It is seriously worth it’s weight in gold.
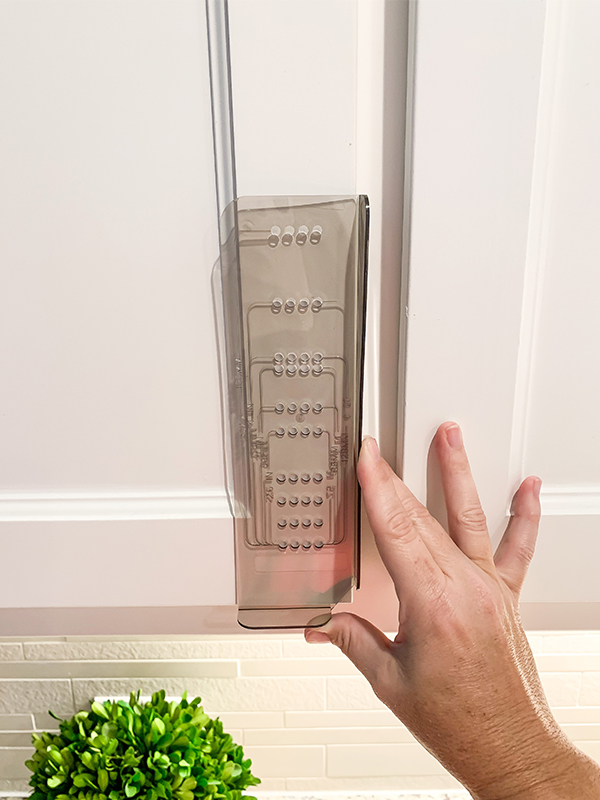
3. Using the align right tool, choose the size of your cabinet hardware per the markings. We used 3-inch hardware so we marked where those holes were so we didn’t have to keep trying to find them on the tool. Since it is clear, it makes it harder if you don’t do that step.
4. Once you have marked the holes, you will then drill holes into the cabinets. This is the moment of truth. The first one we did, I realized I didn’t have the tool all the way against the cabinet so it came out a little crooked. Hence the advice I gave you in step 1. LOL
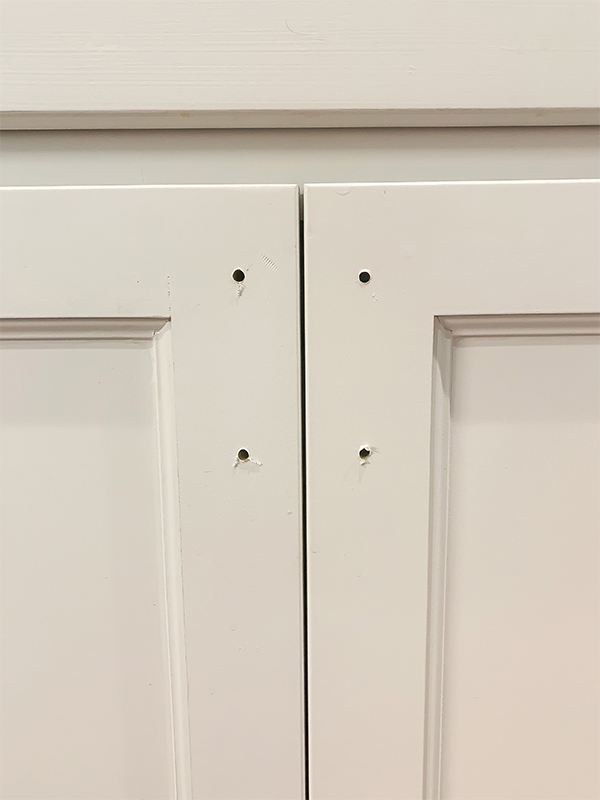
5. Once you have the holes drilled, you just screw in the hardware.
See? It is super easy. Total work time to do the kitchen was maybe 45 minutes. We had to charge the drill a couple times so I did not include that time. We absolutely love how they turned out!
I hope this little how to install cabinet hardware tutorial helped you a little. It really is a simple project. We will be tackling our bathroom when we get more pulls in the mail. Be sure and check back. Also, be on the lookout for our tutorial on our daughter’s bedroom vinyl sticker wall.